To add an overlaid graphics image,
1.Use the New Graphics tool  on the Special Symbols toolbar.
2.Click on the canvas where you want the top left corner of the image.
3.An Overlaid Graphics dialog box pops up and lets you choose the image to use.
You can choose between using one of the maps you already have on a canvas, or you can select a separate file.
When you add a separate file, a copy of this file is stored inside the Condes event file, and therefore it is always available, even when you move the event file to another computer. This also means that if you change the contents of the original external file, and you want these changes reflected in the Condes event, you need to update the contents of the Condes event file, by selecting the external file again. This can be done without affecting the other properties of the overlaid image.
Transparent backgrounds The transparency of the background can be configured via a new setting in the configuration dialog for the object. One end of the scale is 100 % opaque (solid background color), and the other end of the scale is 100 % transparent (similar to invisible background color). Note that PostScript printers do not support transparent colors, so backgrounds will be solid when printed on a PostScript printer or exported to EPS. As PDF supports transparency, the recommendation is to export to PDF and print the PDF file. |
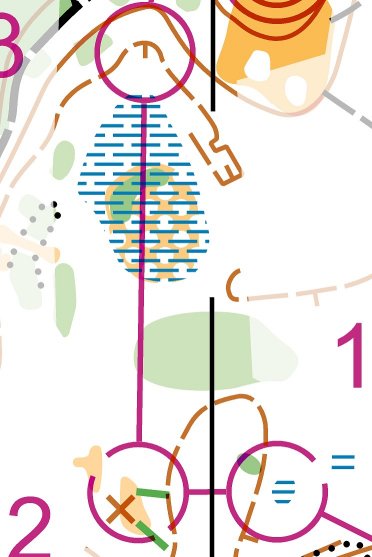
Mask object with transparent color |
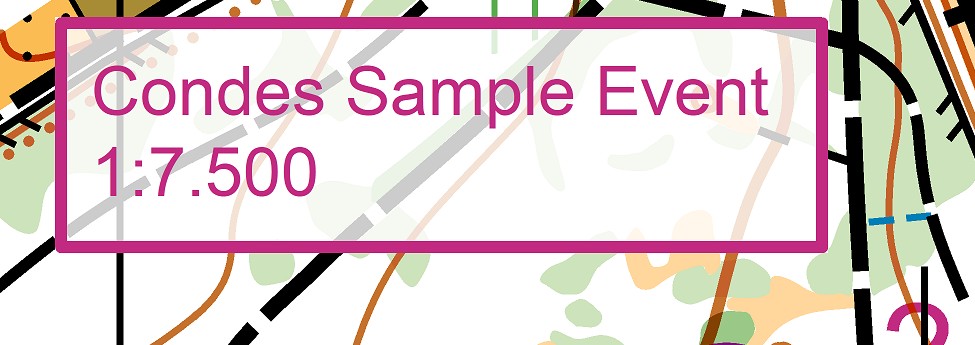
Text object with transparent background |